
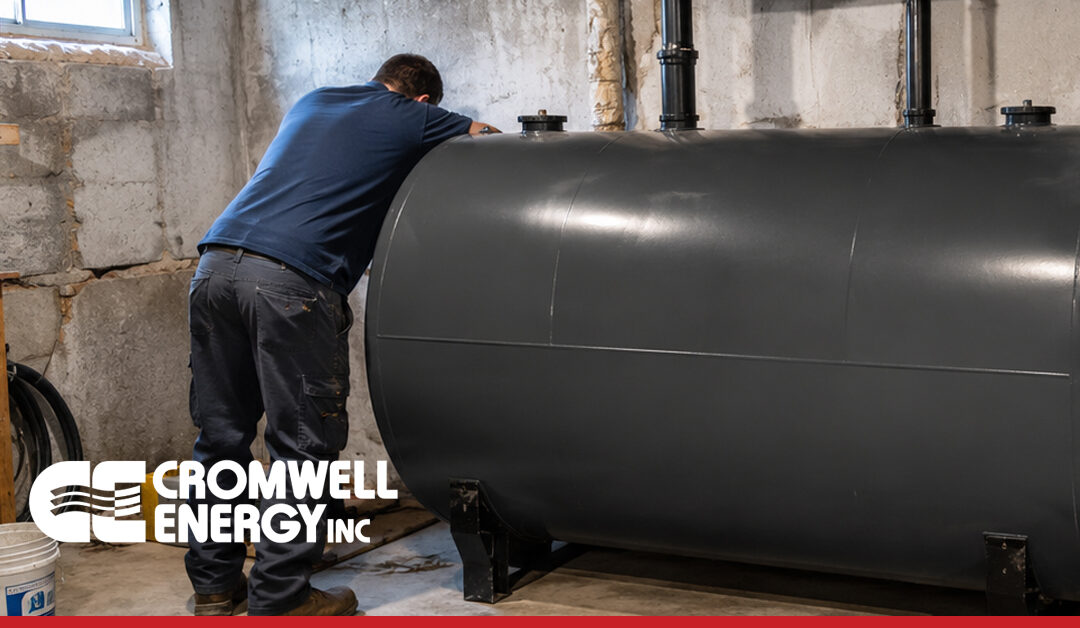
For many Connecticut homeowners, replacing a heating oil tank can feel like a big project – especially if the tank is located in a basement, utility room, garage, or another tight space. The good news is that oil tank replacement is typically a structured, step-by-step process handled by trained professionals who know how to safely remove the old tank, protect your home, and get your heating system ready for reliable fuel storage again.
At Cromwell Energy, we provide oil tank inspection, removal, installation, and protection services for homeowners throughout Central Connecticut. If your tank is aging, leaking, rusting, or showing signs of wear, understanding what happens on replacement day can help you feel more prepared.
Quick Highlights
- Oil tank replacement is a planned, step-by-step process that usually includes fuel transfer, tank removal, new tank placement, piping, refueling, and system checks.
- Technicians will typically pump the fuel out of the old tank and dispose of it in an authorized recycling facility.
- The old tank may be carried out whole or dismantled, depending on its location and access inside the home.
- A new tank is positioned, secured, connected to fuel lines, and fitted with important components such as a filter, fill pipe, vent pipe, and vent alarm.
- The new tank is then filled with clean heating oil (most oil tank manufacturers prohibit the reuse of old oil in the new tank, or the warranty is voided).
- Replacing an aging tank before it fails can help reduce the risk of leaks, property damage, heating interruptions, and costly cleanup.
Why Homeowners Replace Heating Oil Tanks
Most homeowners do not think about their oil tank until there is a visible problem. However, because heating oil tanks can deteriorate over time – sometimes from the inside out – it is important to take tank age and condition seriously.
Common reasons to replace an oil tank include:
- Visible rust, corrosion, or blistering paint
- Wet spots, oil odors, or signs of seepage
- Loose fittings or leaking fuel lines
- An older tank nearing the end of its expected service life
- A failed inspection
- A tank located in a difficult or unsafe area
- Upgrading to a newer, more secure tank design
In Connecticut homes, many oil tanks are located in basements. That can make replacement feel intimidating, but experienced technicians are used to working in tight spaces and will plan the removal and installation around your home’s layout.
Before Replacement Day: The Inspection and Planning Stage
Before the actual replacement, the process usually begins with an inspection. A technician will evaluate the current tank, its location, fuel lines, venting, fill pipe, and surrounding area. This helps determine the best replacement option and whether the old tank can be removed whole or needs to be cut apart for safe removal.
The technician may also look at:
- Access to the basement or tank area
- The condition of the floor or tank supports
- The type and size of the current tank
- How much oil remains in the tank
- Whether piping, filters, or fittings should be replaced
- Any signs of past leaks or staining
- Whether the tank is aboveground or underground
This planning step helps make replacement day more efficient and reduces the chance of surprises.
Step 1: Preparing the Work Area
On the day of replacement, technicians will first prepare the area around the tank. This may involve clearing a path from the tank location to the exit, protecting floors where needed, and setting up tools and temporary storage containers.
Homeowners can help by making sure there is a clear walkway to the tank. If the tank is in the basement, remove boxes, furniture, stored items, or anything else that may block access. The more room technicians have to work, the smoother the process typically goes.
You do not need to empty the oil tank yourself. In most cases, the fuel transfer is handled as part of the replacement process.
Step 2: Fuel Transfer
Before the old tank can be removed, technicians need to pump out the remaining contents. This includes the old heating oil, along with any sludge, water, or sediment that has accumulated at the bottom of the tank.
Old oil, sludge and contaminated material are handled separately and disposed of properly.
This step is important because even an “empty” oil tank can still contain residue. Removing the fuel makes the tank safer and easier to handle.
Step 3: Disconnecting the Old Tank
Once the fuel has been pumped out, technicians disconnect the old tank from the heating system. This may include removing or capping fuel lines, disconnecting the fill and vent piping, and removing the filter assembly.
The technician will also inspect the surrounding area for signs of staining, leakage, or deterioration. If there are any concerns, they can explain what they find and recommend the next steps.
Step 4: Removing and Disposing of the Old Tank
After the tank is empty and disconnected, the old tank is removed from the home.
Depending on the layout, the tank may be carried out in one piece. In tighter basements or older homes with narrow stairways, technicians may need to carefully dismantle or cut the tank into smaller sections before removal.
The old tank is then hauled away and disposed of through appropriate channels. Responsible disposal is an important part of the process, especially because old tanks can contain oil residue, sludge, or contaminated material.
Step 5: Setting the New Tank in Place
Once the old tank is removed, technicians prepare the space for the new tank. The new tank is positioned on a stable surface and secured properly. In many homes, this means setting the tank on legs or supports designed to keep it level and safely elevated.
Proper placement matters. A heating oil tank needs to be stable, accessible for future inspections, and positioned so the fill pipe, vent pipe, fuel lines, and filter can be installed correctly.
This is also the point where homeowners may notice how much cleaner and more compact a new tank can look compared to an older, aging tank.
Step 6: Connecting New Piping, Lines, Filter, and Vent Alarm
After the tank is positioned, technicians connect the necessary components. This may include:
- New copper or steel oil lines
- Fill pipe
- Vent pipe
- Vent alarm
- Oil filter
- Shutoff valves
- Fittings and connections
The vent alarm is an important safety component during fuel deliveries. It helps delivery drivers know when the tank is nearing full capacity. The oil filter helps protect the heating system by filtering impurities before fuel reaches the burner.
In many replacements, installing new piping and fittings is recommended because older components may be worn, corroded, or no longer ideal for the new setup.
Step 7: Filling the New Tank
Once the new tank is installed and connected, the new tank can be filled with clean heating oil.
For many homeowners, this is a good time to coordinate with Cromwell Energy for a delivery plan, especially before cold weather arrives.
Step 8: Testing the System
Before the job is complete, technicians will check the tank, piping, fittings, and heating system connections. The goal is to confirm that the installation is secure and that the system is ready for normal operation.
They may check for:
- Proper tank placement
- Tight fittings
- Secure fuel line connections
- Proper venting
- Filter installation
- Signs of leaks
- Burner operation, if applicable
Once testing is complete, the technician can review the work with you and answer any questions about your new tank.
How Long Does Oil Tank Replacement Take?
The exact timeline depends on the tank location, how much oil is inside, how easy the tank is to access, and whether the old tank must be dismantled. Many aboveground residential oil tank replacements can be completed in several hours, but more complex situations may take longer.
Examples of things that can affect timing include:
- Narrow basement stairs
- Limited access to the tank
- A large amount of oil in the old tank
- Heavy sludge buildup
- Older piping that needs replacement
- Underground tank removal
- Soil testing or additional environmental steps
Your technician can give you a better idea of what to expect after inspecting your specific tank setup.
What Homeowners Should Do Before Replacement Day
To help the installation go smoothly, homeowners can take a few simple steps before the crew arrives:
- Clear a path to the tank. Move boxes, furniture, storage bins, or other items out of the way.
- Make sure someone is available. A homeowner or authorized adult should be present to provide access and review the work.
- Avoid filling the tank right before replacement. If you know the tank is being replaced soon, ask Cromwell Energy how much fuel should remain in the tank before the project.
- Keep pets and children away from the work area. Oil tank replacement involves tools, heavy equipment, fuel handling, and moving large materials.
- Ask about fuel delivery after installation. Your salvaged oil may be transferred back, but you may still need a delivery to bring the new tank to a comfortable level.
Will There Be a Heating Interruption?
In most cases, your heating system will be temporarily shut down while the old tank is disconnected and the new one is installed. This is usually only during the replacement window.
If you are replacing your tank during the colder months, ask about timing and scheduling so you know how long the system may be offline. Planning ahead can help minimize disruption and keep your home comfortable.
Aboveground vs. Underground Oil Tank Replacement
Most residential replacement projects involve aboveground tanks, especially those located in basements. These are generally more straightforward because the tank is visible and accessible.
Underground oil tanks require additional steps. Removal may involve excavation, environmental precautions, and, in some cases, soil testing. Cromwell Energy also removes existing underground oil tanks and conducts required on-site soil testing.
If you are unsure whether your property has an underground tank – or if you recently purchased an older Connecticut home – it is worth scheduling an inspection.
Why Professional Oil Tank Replacement Matters
Oil tank replacement is not a DIY project. Heating oil tanks are heavy, regulated, and connected to your home’s heating system. Improper removal or installation can lead to leaks, fuel odors, system issues, or environmental problems.
Working with experienced professionals helps ensure that:
- Fuel is handled safely
- The old tank is removed responsibly
- The new tank is installed correctly
- Piping and fittings are properly connected
- Your system is ready for heating season
- Old tank materials are disposed of properly
For Connecticut homeowners, professional installation also provides peace of mind that the work is being completed with safety, compliance, and long-term reliability in mind.
Replacing Your Tank Before It Fails Can Save You Stress
One of the biggest benefits of replacing an aging tank proactively is avoiding an emergency. A leaking oil tank can create major inconvenience, cleanup concerns, heating interruptions, and potential damage to your home.
If your tank is showing warning signs – or if you simply do not know how old it is – an inspection can help you make an informed decision before a small concern becomes a much larger problem.
Schedule Oil Tank Replacement With Cromwell Energy
If you are considering oil tank replacement in Cromwell, Middletown, Portland, Rocky Hill, or the surrounding Central Connecticut area, Cromwell Energy can help.
Our team provides oil tank inspection, removal, installation, and protection services designed to keep your home safe, compliant, and ready for dependable heating. We can inspect your current tank, explain your replacement options, remove and dispose of the old tank responsibly, and install a new tank built for secure fuel storage.
To schedule an oil tank inspection or discuss replacement options, contact Cromwell Energy today.